How a Gastroscopy Is Performed (With Images): A Comprehensive Step-by-Step Guide
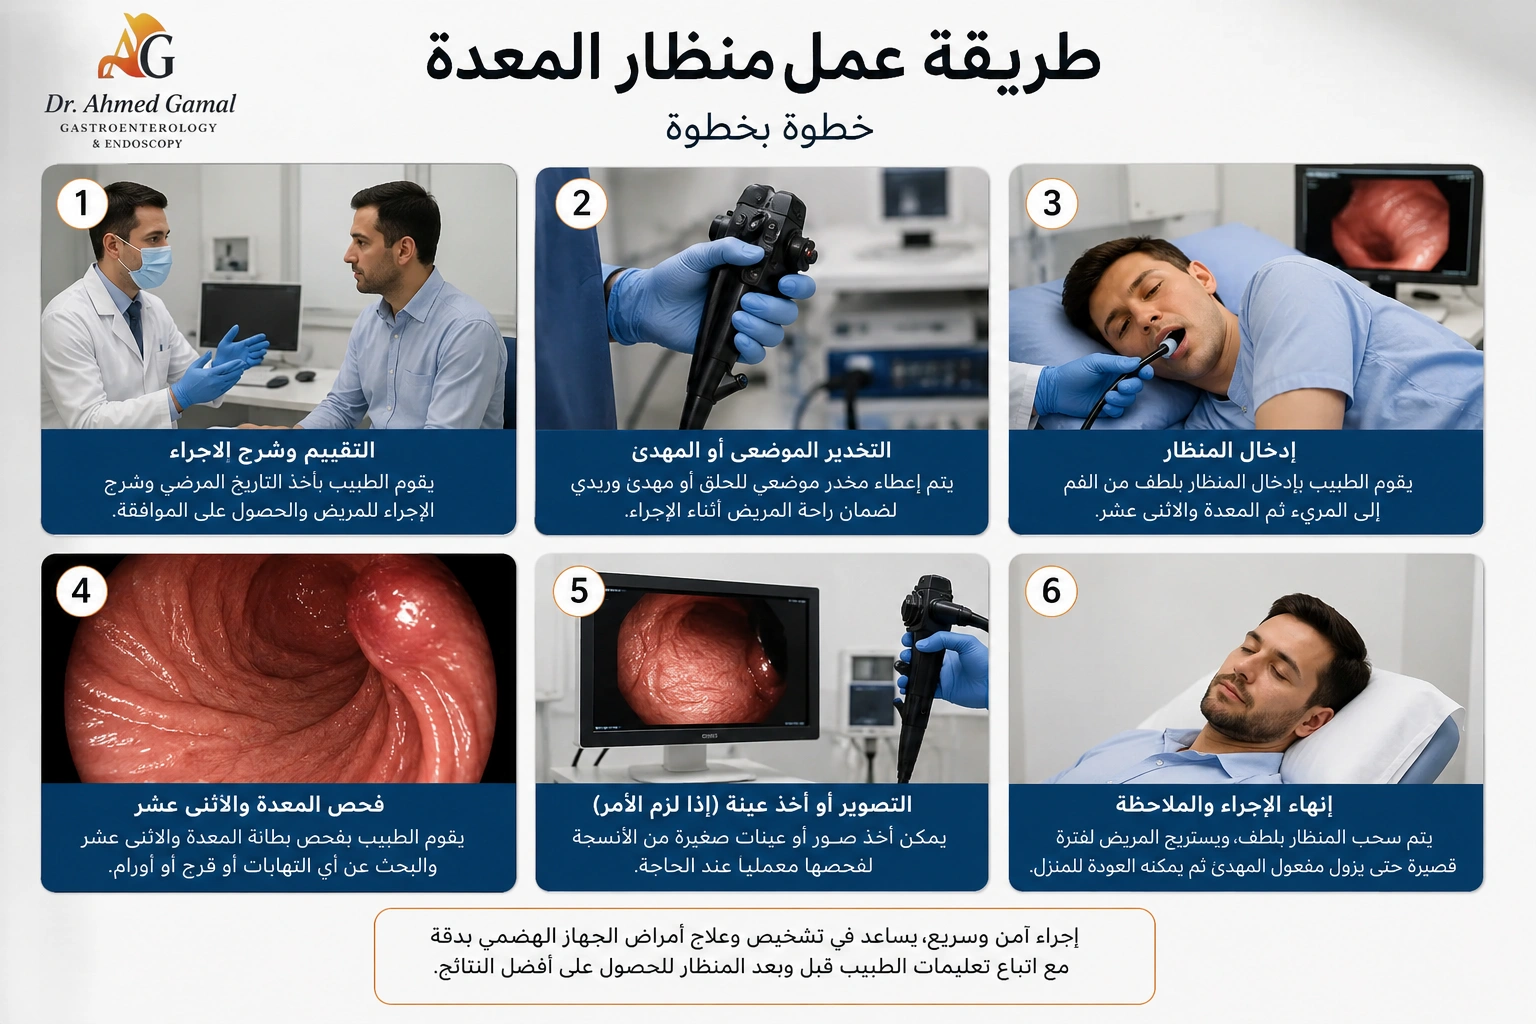
Understanding how a gastroscopy is performed can make the examination feel more predictable. Gastroscopy, also called upper gastrointestinal endoscopy, uses a thin flexible camera to examine the oesophagus, stomach and duodenum. The procedure follows an organised sequence from medical review and fasting checks to throat anaesthesia or sedation, careful inspection, possible biopsy and recovery.
What does a gastroscopy examine?
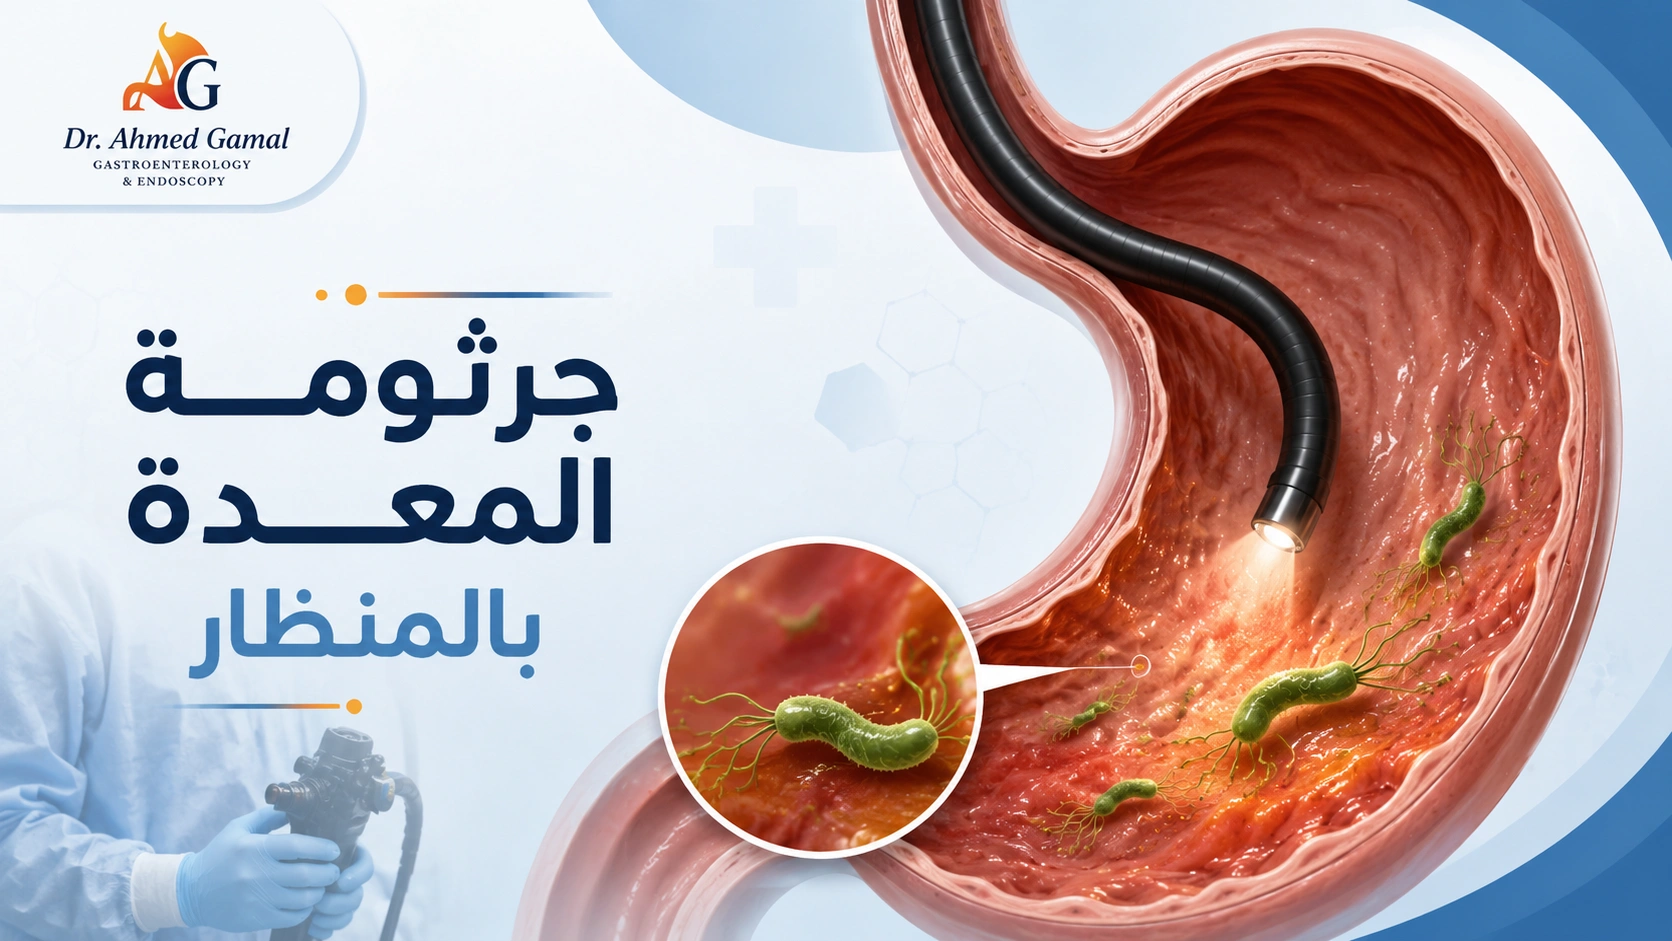
The endoscope travels through the mouth and throat into the upper digestive tract. Its camera sends live images to a monitor, allowing the doctor to inspect the oesophagus, the full stomach and the first part of the small intestine. The tube also contains channels for air, water and small instruments.
Gastroscopy can investigate persistent reflux, upper abdominal pain, difficulty swallowing, repeated vomiting, unexplained iron-deficiency anaemia, suspected bleeding, ulcers and abnormal imaging. It can also help diagnose inflammation, Barrett's oesophagus, Helicobacter pylori infection and selected tumours. Read the clinic's Gastroscopy service page for an overview of the procedure and its uses.
Before the procedure: assessment and fasting
The endoscopy unit provides fasting instructions so the stomach is empty. Follow the exact times for food and liquids because requirements vary by health condition, planned sedation and local protocol. Food in the stomach can obstruct the view and increase the risk of regurgitation or aspiration.
Tell the team about allergies, pregnancy, heart or lung disease, sleep apnoea, diabetes, liver disease, previous surgery and implanted devices. Bring a complete medicine list, especially anticoagulants, antiplatelet drugs, insulin and other diabetes medicines. Do not stop or change prescribed medication without instructions from the clinician responsible for your care.
Step 1: registration and safety checks
On arrival, the team confirms your identity, symptoms, reason for the test, fasting status and consent. Blood pressure, pulse and oxygen level may be recorded. The clinician discusses the expected benefit, alternatives, sedation choice and relevant risks. This is the right time to mention loose teeth, dentures, previous reactions to sedation or concerns about the procedure.
Step 2: preparing in the endoscopy room
You usually lie on your left side. A small mouth guard protects your teeth and the endoscope. Monitoring equipment may be attached to a finger or chest, and oxygen may be supplied through a small nasal tube. A suction device is available for saliva because swallowing may feel unusual after throat spray.
Step 3: throat spray or intravenous sedation
A local anaesthetic spray can numb the back of the throat and reduce gagging. Some patients also receive intravenous sedation to feel relaxed and drowsy. Sedation is different from general anaesthesia in many routine gastroscopies; patients usually continue breathing independently while the team monitors them.
The safest option depends on the planned procedure, general health, anxiety and the unit's facilities. If sedation is used, arrange for a responsible adult to take you home and follow written restrictions on driving, work, alcohol and important decisions.
Step 4: passing the endoscope
The doctor guides the lubricated flexible endoscope through the mouth. You may be asked to swallow once as it passes the throat. The scope enters the digestive tract rather than the airway, so it does not prevent breathing. A feeling of pressure, gagging or the need to burp can occur, but the team supports you and adjusts the procedure when needed.
Step 5: examining the oesophagus
The camera provides a magnified view of the lining. The doctor inspects the oesophagus for inflammation, erosions, ulcers, narrowing, varices, changes associated with long-term reflux and other abnormalities. Fluid or mucus can be washed away to improve visibility, and photographs are usually recorded for the report.
Step 6: examining the stomach
The endoscope advances into the stomach. A small amount of air or carbon dioxide opens the folds so the lining can be inspected carefully. The doctor examines the upper, middle and lower stomach, often turning the scope backwards to view areas near the entry point. Temporary bloating or belching can result from the gas.
Visible findings may include inflammation, ulcers, bleeding points, polyps, retained food or suspicious lesions. Appearance can guide the next step, but some diagnoses need laboratory or pathology confirmation.
Step 7: examining the duodenum
The scope passes through the stomach outlet into the duodenum. The doctor checks the first and second portions for ulcers, inflammation, bleeding and other changes. Gastroscopy therefore examines more than the stomach; it covers the main accessible areas of the upper digestive tract.
Step 8: taking biopsies when needed
Tiny forceps can pass through the instrument channel to take tissue samples. Biopsies may be used to test for H. pylori, assess inflammation, investigate coeliac disease or identify abnormal cells. Patients usually do not feel the tissue being sampled. Taking a biopsy does not automatically mean cancer is suspected; it is a routine diagnostic tool in many conditions.
Step 9: treatment during gastroscopy
Some procedures combine diagnosis with treatment. Depending on the finding and the available equipment, the doctor may control bleeding, remove a foreign body, dilate a narrowing, remove selected polyps or perform another planned intervention. Therapeutic gastroscopy takes longer and may require different preparation, sedation and observation.
Step 10: removing the scope and recovery
After the examination, the scope is withdrawn gently while the doctor makes a final review. You then move to a recovery area. With throat spray alone, observation may be brief, but you must wait until swallowing is safe before eating or drinking. With intravenous sedation, staff monitor you until you meet discharge criteria.
The visual result may be explained on the same day. Because sedation can affect memory, written instructions are useful. Biopsy results take longer and require a planned follow-up rather than assumptions based only on the camera images.
How long does gastroscopy take?
A routine diagnostic gastroscopy commonly takes about 5 to 15 minutes, while the complete visit can take two to three hours because of registration, preparation and recovery. Biopsies add little time, while treatment can extend the procedure. See how long a gastroscopy takes for a detailed timing guide.
What might you feel?
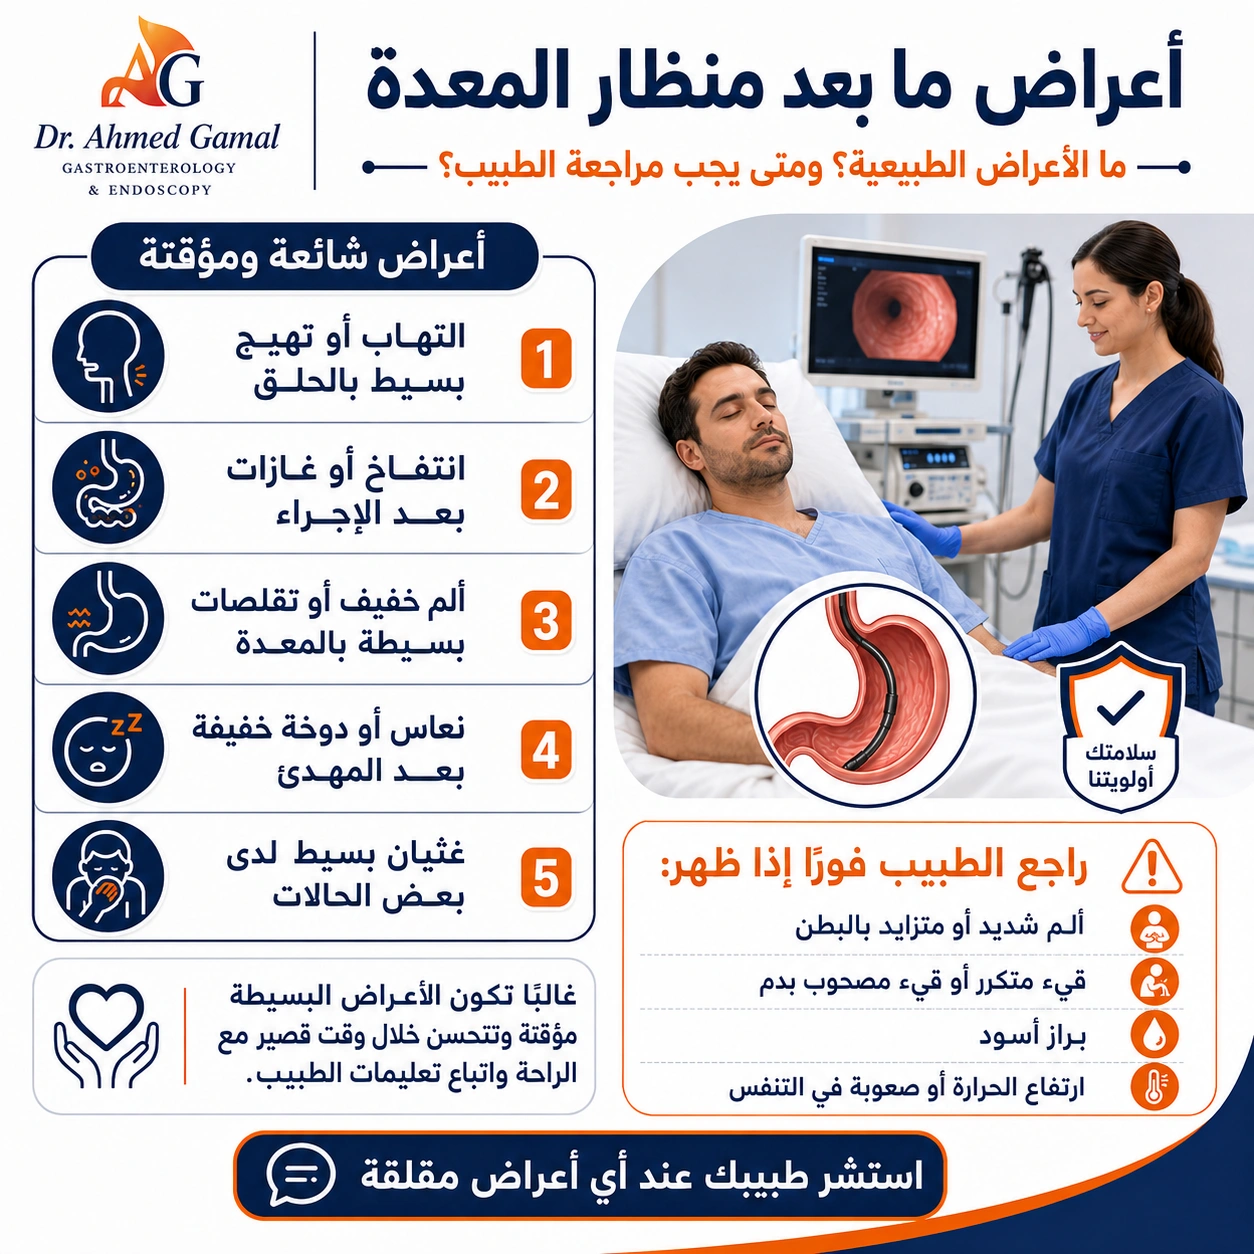
Common temporary sensations include a numb throat, pressure, gagging, belching, bloating or a mild sore throat. The procedure should not cause severe pain. Tell the team if you are very uncomfortable, have difficulty breathing or feel unwell. They can pause, adjust medication or stop when clinically necessary.
Eating, driving and work afterwards
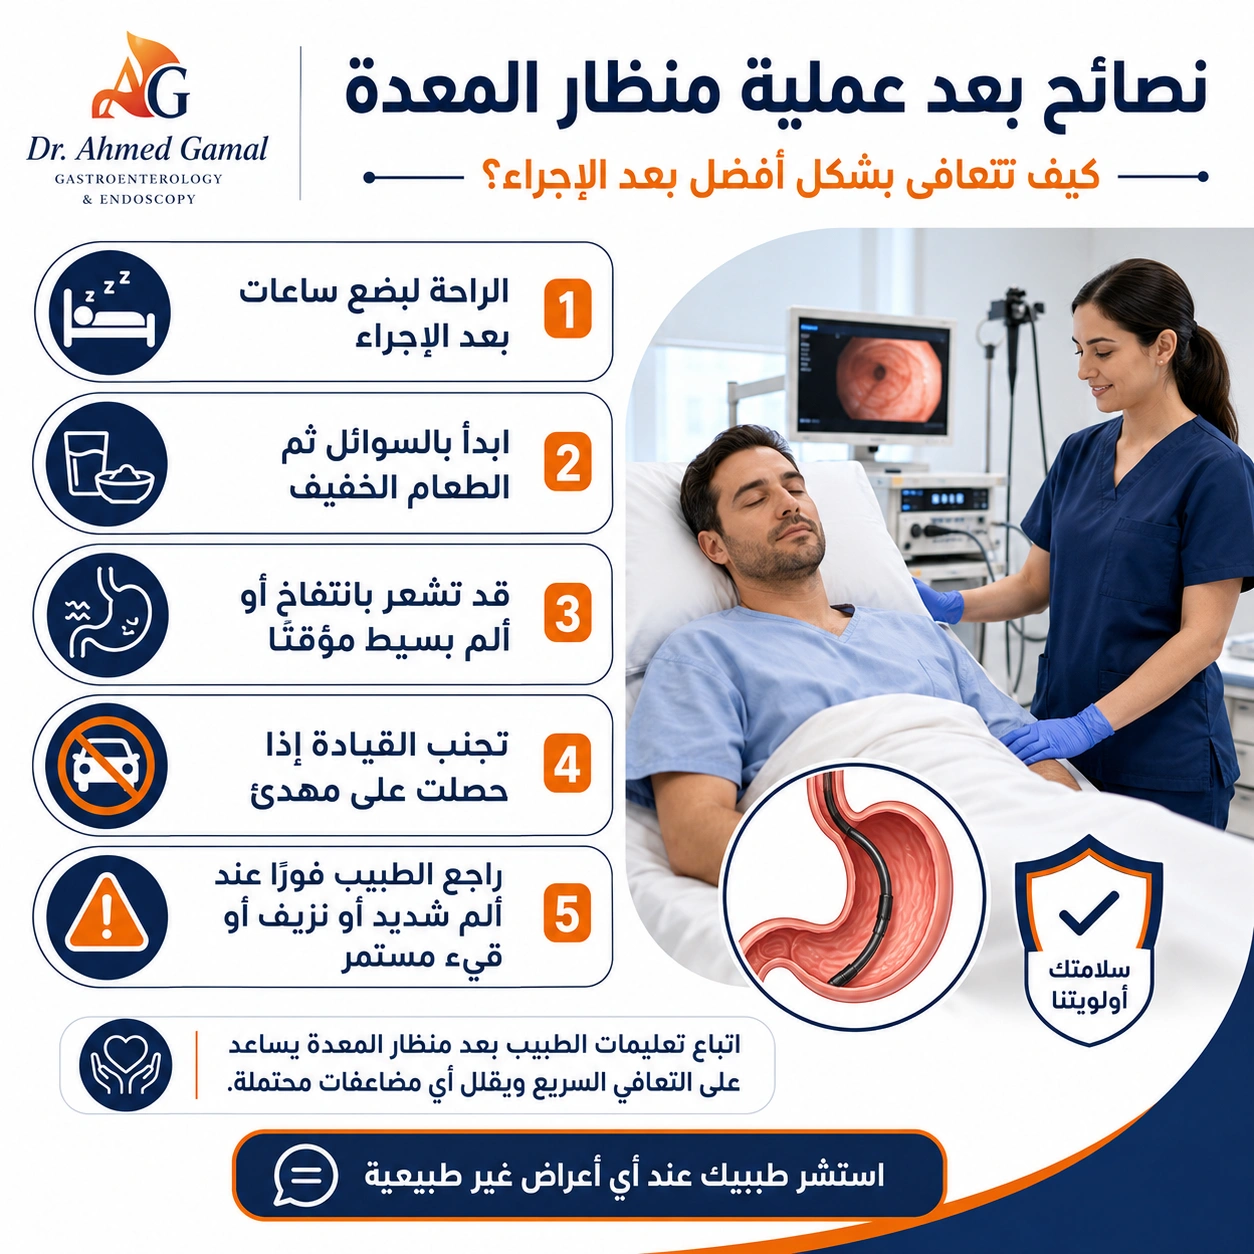
Wait until the throat numbness has resolved and follow the unit's eating instructions. Start gently if advised. After sedation, rest and avoid driving, machinery, alcohol, important decisions and unsupported childcare for the stated period. The unit may require an escort and someone to remain with you.
Read the related gastroscopy and colonoscopy aftercare guide, or browse all digestive and endoscopy services.
When should you seek urgent medical help?
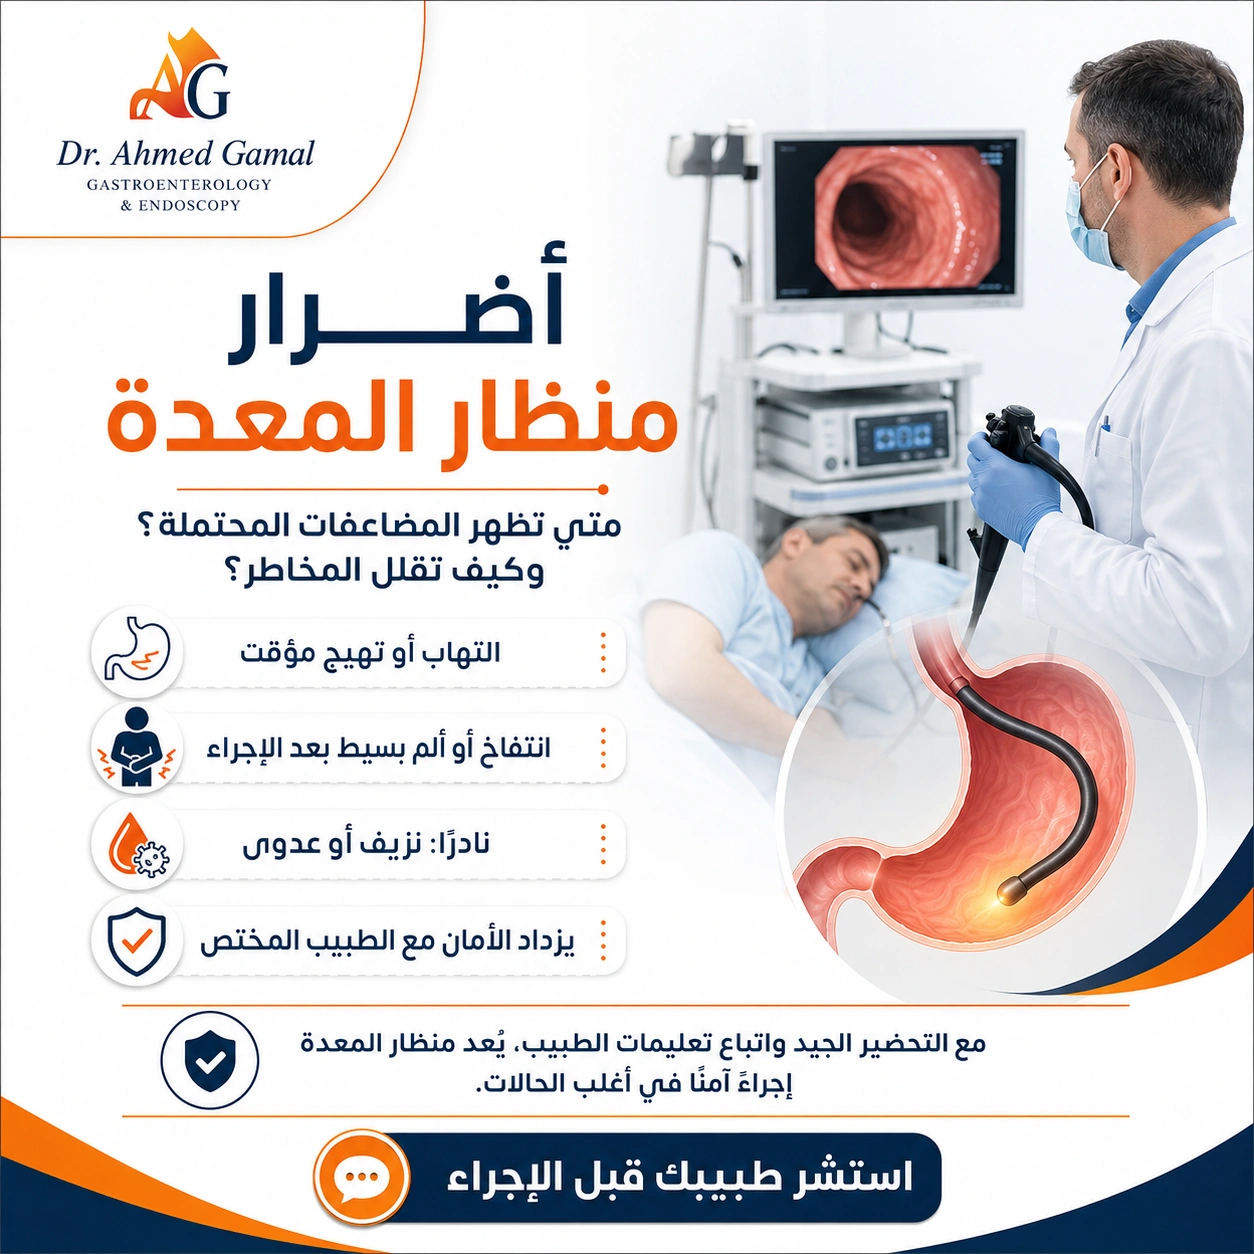
Serious complications are uncommon, but urgent assessment is needed for severe or increasing chest or abdominal pain, difficulty breathing, fever, fainting, repeated vomiting, vomiting blood, black stools or heavy rectal bleeding. Follow the specific warning signs on your discharge sheet, especially after biopsy or treatment.
Frequently asked questions
Can I breathe during gastroscopy?
Yes. The endoscope enters the oesophagus, not the windpipe, and does not block normal breathing. The team monitors you and supports you throughout the procedure.
Is gastroscopy performed under general anaesthesia?
Many routine examinations use throat spray, intravenous sedation or both. Deeper anaesthesia may be chosen in selected cases. The appropriate plan depends on the patient, procedure and facility.
Does a biopsy hurt?
Patients usually do not feel the biopsy itself. Temporary throat discomfort or bloating is more common than pain from the tissue sample.
Can the doctor treat a problem during the same procedure?
Sometimes. Bleeding control, dilation, foreign-body removal and other interventions may be possible, but the plan depends on the finding and available expertise and equipment.
When can I eat after gastroscopy?
Wait until swallowing is safe after throat spray and follow the unit's written advice. Treatment during the procedure may require different dietary instructions.
When do biopsy results arrive?
Timing varies by laboratory and test. The clinic should tell you how and when results will be reviewed and what to do if you have not received them.
This guide is for general education and does not replace individual medical advice, consent or instructions from your endoscopy team.
Other Articles